/
How to use Edit Field Automation
How to use Edit Field Automation
By Daniel Vargas Llopis
Nov 10, 2020
For all of the following procedures, you must be logged in as a user with the Administrator Project Role.
![]()
Overview
Edit Field Automation adds a new action to the automation rules in Jira Service Management, enabling you to edit and update any Jira custom field.
Configuration
When Edit Field Automation is installed, an additional action appears when configuring automation rules:
- Go to Project Settings
 > Automation
 - Edit an existing automation rule or click Add rule
- If a new rule is created, select a rule template or create a custom rule
- Edit the automation rule configuration as needed, under the Then rules, click Add an action. The new option Edit issue custom fields will be available
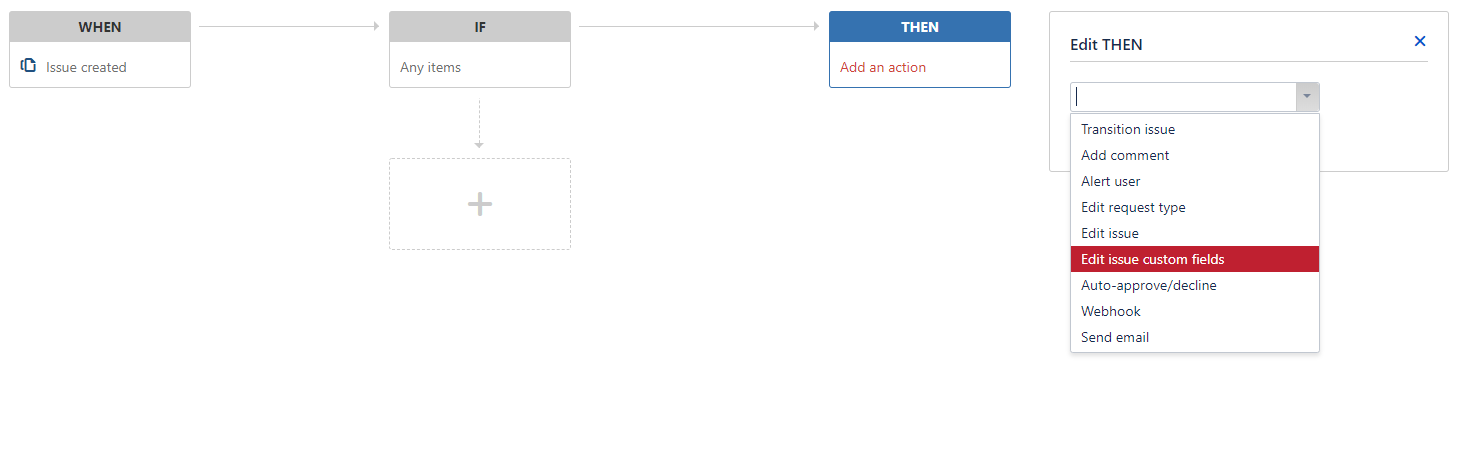
- Select Edit issue custom fields and click Add

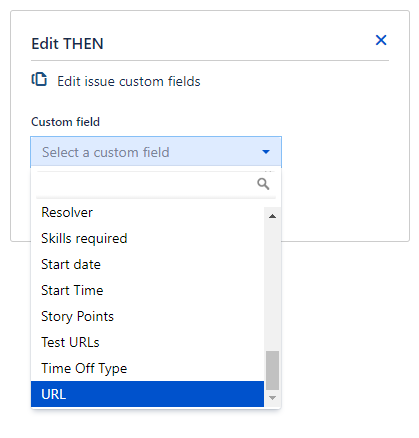
- Select the Custom Field to be updated
- Enter the new value to be edited when the If statement is met and click Confirm (Update Value field will change to adjust to the selected Custom Field type, e.g. Number Field, Select List (single choice)...)
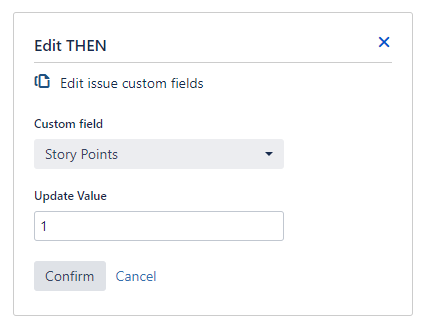
- Click Save
For more information on how to use automation rules, please visit Atlassian's documentation.
Supported Custom Field Types
The supported native Custom Field Types are:
- Affects Version/s
- Checkboxes
- Date Picker
- Date Time Picker
- Fix Version/s
- Group Picker (single group)
- Group Picker (multiple groups)
- Labels
- Number Field
- Organizations
- Radio Buttons
- Select List (cascading)
- Select List (multiple choices)
- Select List (single choice)
- Text field (multi-line)
- Text Field (single line)
- URL Field
- User Picker (single user)
- User Picker (multiple user)
We also support the following field types installed with other Marketplace Apps:
- Tempo Account
, multiple selections available,